Using a micro four thirds camera for urban astrophotography, startrails and night timelapses
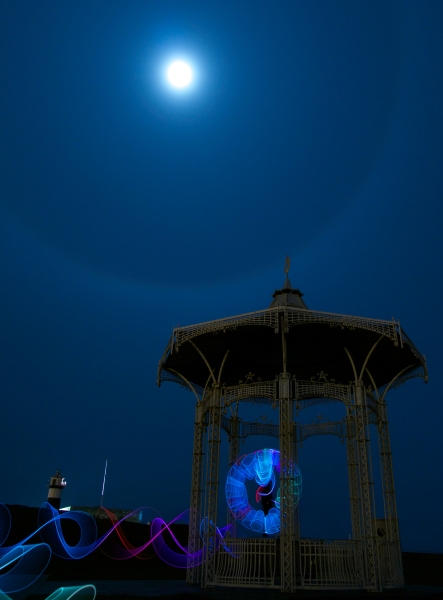
Stacked star trails over Southsea Bandstand, centred on Polaris (the North Star) – total exposure time 14 minutes
Inspired by the phrase “Heaven’s light our guide” – the motto on the coat of arms for the city of Portsmouth – I have spent the last month getting to grips with the basics urban long exposure night sky photography. A sequence of amazingly clear starry nights during January presented me with an ideal opportunity to try my hand at capturing star timelapses and star trails.
Making best use of what you have
As much as I might dream of using a low-light champion such as the Sony a7s in an isolated “dark sky” location for my star timelapses, I knew I had to face reality. I needed to use the equipment I had to hand, in locations that I could access, and at times that would fit around my busy family life.
So that meant trying to get the best out of my Panasonic Lumix G6 (not renowned for its low light performance but more impressive than I expected during my lightpainting session) in an urban location – Southsea (part of Portsmouth, on the south coast of England).
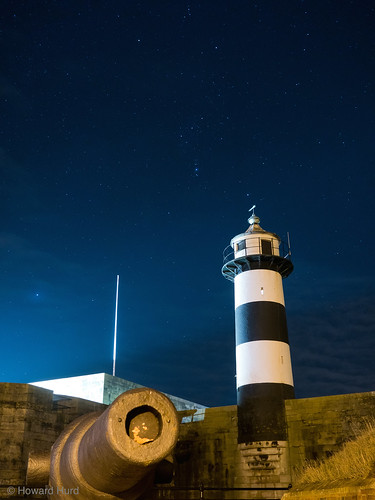
Orion over Southsea Castle – a wider view
Overcoming urban light pollution
I faced a number of challenges in capturing the stars in the night sky above Portsmouth. The first was the pollution from the street lights that illuminate the town at night. Luckily, Southsea is on the coast and has a long seafront that looks directly south over the relative dark of the Isle of Wight and the open water of the Solent.
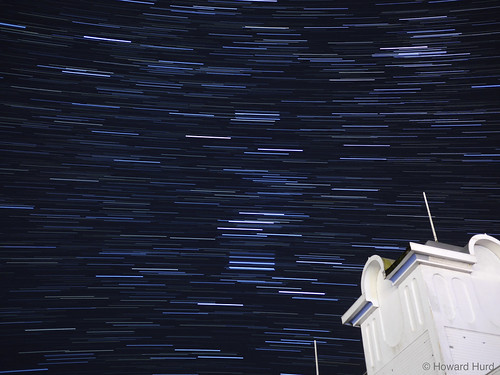
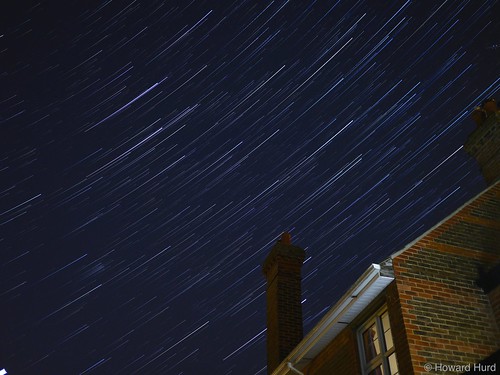
Stacked star trails over South Parade Pier, Southsea, centred on Orion – total exposure time 18 minutes
In a number of locations on the seafront it is possible to get away from the street lights and if you point your camera south over the water the number of visible stars increases dramatically. There are also a variety of structures you can use to add foreground interest – such as lines of beach huts, Southsea Bandstand, Southsea Castle and South Parade Pier.
Whilst most urban areas are not lucky enough to be on the coast, you can usually find some open areas (such as parks, playing fields, lakes, canals, rivers) where you can get an open view of relatively dark skies at night.
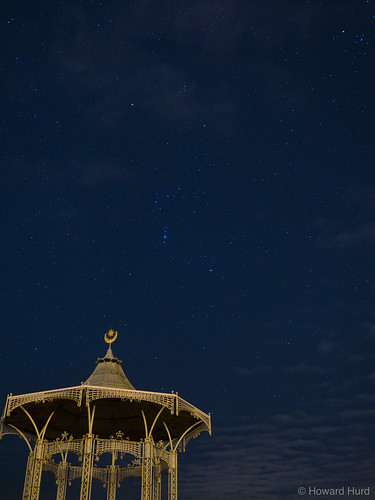
Orion over Southsea Bandstand – a wider view
This restriction is why my main subject was the constellation of Orion, which is visible to the south in the Winter night sky over England so it was positioned over the sea. However, I also managed to get a few successful shots of Polaris and the Big Dipper looking north over the city.
Stacking to create star trails
My Lumix G6 has a relatively small micro four thirds sensor which is a few generations old – and I have found that it starts to become quite noisy, even at low ISOs, when taking exposures longer than around 30 seconds. So I knew that single long exposures to capture the stars at night was not going to be a good option.
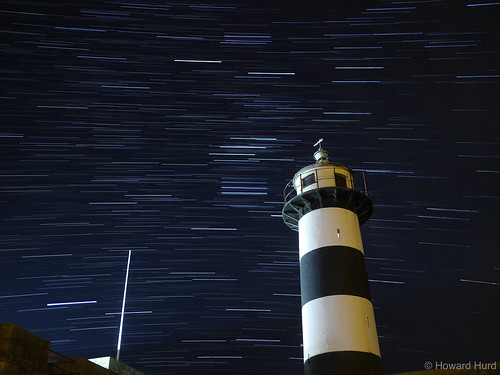
Stacked star trails over Southsea Castle (total exposure time 19 minutes)
So instead I opted to use the stacking technique to create star trails – Andrew Whyte provides a succinct explanation of this method and its advantages on his blog post ‘Winning the star wars‘. Stacking enables you to combine a number of shorter exposures to create a longer star trails – and, as an added benefit, it also provides multiple exposures that you can assemble into a night-sky timelapse.
Working with your limitations
Because of the need to use as fast (or wide-apertured) a lens as possible to keep my exposure times relatively short at relatively low ISOs, I was also restricted to using my Lumix 20mm f1.7. As a 40mm equivalent lens, this was not really as wide as I would have liked but it still enabled me to capture the stars in the night sky effectively.
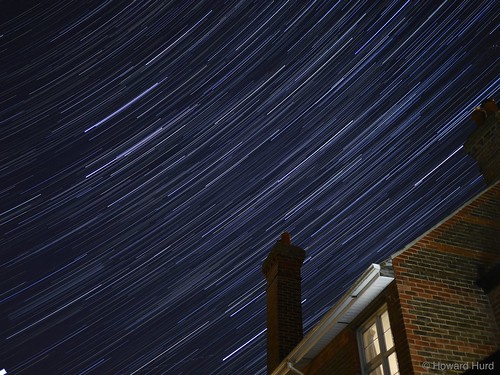
Stacked star trails showing the Big Dipper looking North – total exposure time 50 minutes
The Lumix G6 is also not very easy to manually focus on stars at infinity at night-time – the focus peaking helps a little but the magnified focus-aids ‘gain-up’ too much in low light to be of much use. This, combined with the 20mm lens not having a hard infinity stop and using it wide open at f1.7 with shallow depth of field, meant that I had to take several test exposures before starting each series of stacking shots – partly to check exposure and composition, but also to check focus.
Going wider to set the scene
I took the star timelapses at five locations over four nights. At three of the locations I started off by taking some wider still photographs to test the capabilities of my 14-140mm Lumix zoom lens. At the 14mm (28mm equivalent) end of the zoom this provides a fairly wide shot and the widest aperture is f3.5 – not that fast but just about OK for a couple of quick shots – see below and above.
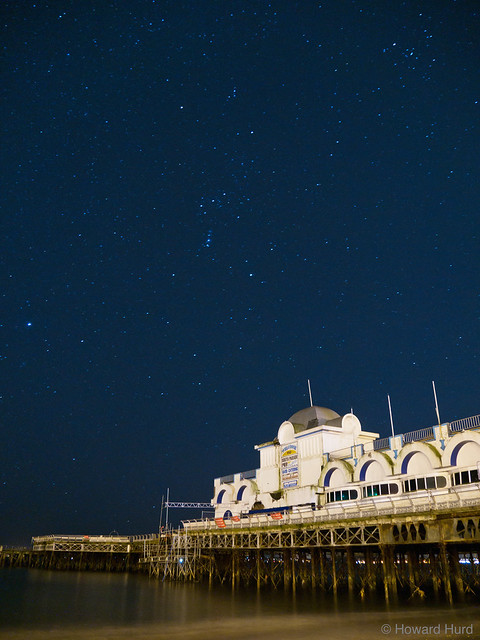
Orion over South Parade Pier, Southsea – a wider view
Shooting for the stars
To create my urban star timelapses, I mounted my 20mm f1.7 on the Lumix G6 and set them up on the tripod. I had the camera in manual exposure, with a fixed ISO, set the white balance manually using the Kelvin setting (at 2500ºK for most sequences to reduce the orange cast of urban street lights), and used manual focusing.
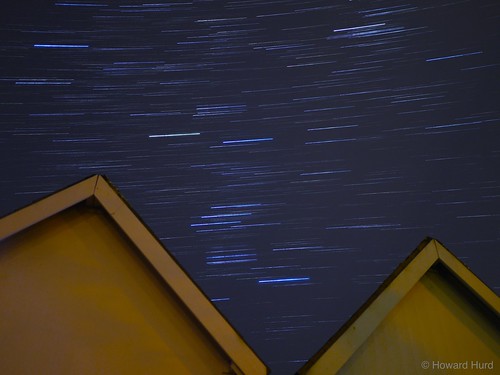
Stacked star trails over Eastney Beach Huts, centred on Orion – total exposure time 24 minutes
After a few test shots to check focusing, framing and exposure, I then used the built-in timelapse feature on the G6 to take a series of photos – usually between 125-175 frames for each shot as at 24 or 25 frames per second this would provide around 5-7 seconds of timelapse video footage. With the lens wide open at f1.7-f2, I used between 160-500ISO depending on the scene and exposures were between 5-13 seconds for the star shots. I usually set the interval between shots to 1 second longer than the exposure time – any longer and the final star trails would have gaps. So each sequence of up to 500 shots took up to 50 minutes to shoot – a more typical sequence of 100-125 shots took around 15-25 minutes.

Stacked star trails over Southsea Bandstand, centred on Orion – total exposure time 23 minutes
I used my remote release to start each sequence of photos to prevent any camera shake. You could probably use the self-timer to trigger the initial shot instead if you did not have a remote release, or even start the sequence by connecting to the G6’s wi-fi using the Panasonic Lumix Remote smartphone app.
Assembling the startrails
I then created startrails using the fantastic – and free – StarStaX software for iOS by Markus Enzweiler. [There is comparable free star-stacking software for Windows called StarTrails.]
I used straight-out-of-camera JPEGs for the startrails as they automatically included lens compensation (as the 20mm f1.7 vignettes noticeably wide open and has some distortion) and my RAW workflow is not steamlined enough yet for the number of photos involved with a startrail or timelapse.
Stacked standard star trails looking East towards Eastney – total exposure time 40 minutes
The StarStaX software is very simple to use – just import all of the photos for your star trail into the software. I left most of the preferences set to ther defaults, but there is one on the blending tab which lets you create either standard startrails (which keep the same width and light intensity along their length) or “comet” startrails which are brighter and thicker at one end and paler and thinner at the other. I used both of these options for each of my startrails, and then selected which one if preferred (the photos immediately above and below show the two options for one scene).
Stacked comet star trails looking East towards Eastney – total exposure time 40 minutes
If you just want to create one still image you can leave the other preferences alone, press the “Start processing” button and let the software do the rest. If, like me, you want the StarStaX software to create a series of incremental photos to animate as a timelapse to show the trail growing, tick the Cumulative Image Saving > Save after Each Step option.
Compiling the timelapses
To compile the timelapses, I used another great piece of free software – Time Lapse Assembler for Mac. This is also straightforward to use:
- import the files by putting them in a folder – as you can only select a folder not individual files
- select your frame rate – I usually use 24 or 25 frames per second
- set the output dimensions – you can leave the same as your source photos but my computer finds it hard to cope with them, so I usually resize to 3000 pixels wide to still allow some zooming/panning when editing
- set the quality – I usually stick with max quality
Then just hit the encode button and go to make a cup of tea or coffee whilst the software assembles your timelapse.
I created both a normal star timelapse (showing the stars as moving single points of light) and a startrail timelapse (showing startrails growing across the sky) for most of the locations.
Aiming for the moon
Creating a brief timelapse of the moon for the film presented its own difficulties. Until you try to photograph the moon at night, you don’t realise quite how bright it is and with a camera that has restricted dynamic range like the G6 it can be hard to retain detail.
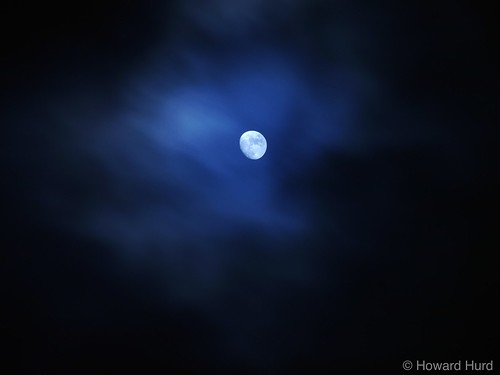
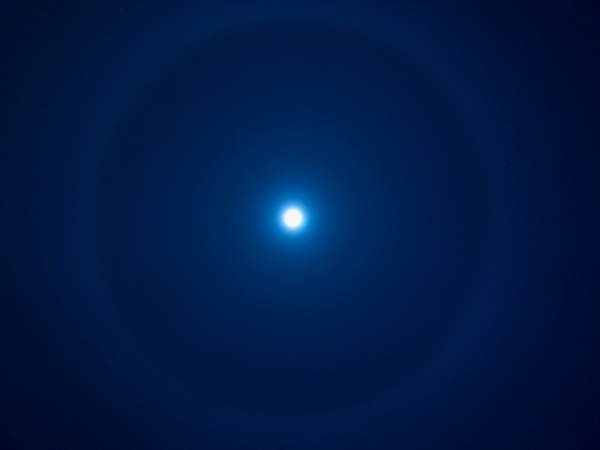
Waxing three-quarter moon in clouds over Southsea (1 second exposure to show cloud movement)
One of the best ways I have found is to photograph the moon when it is veiled by thin cloud cover – which is what I did for the timelapse. The motion of the clouds scurrying over the moon also gives a better impression of movement compared with the moon in a clear sky.
I took the photos of the moon from my back garden, at the long end of my 14mm-140mm Lumix lens – with fixed 160ISO, fully manual exposure (1 sec at f5.6), manual focusing and white balance set at 2500ºK.
“Heaven’s light, our guide”
So here is the timelapse I created. It consists of 9 main shots – a total of around 1,807 photos for 70 seconds. It took over 4 1/2 hours (271 minutes) to take these photos.
Heaven’s light our guide from Howard Hurd on Vimeo.
The stars in the Northern hemisphere night sky all rotate anticlockwise like hands on a giant clock around Polaris (the North Star). It is amazing how much stars in the night sky move – especially the further they are away from Polaris (as they have more distance to travel). This movement is imperceptible to the human eye, but very apparent in even a short timelapse. The moon also races across the sky – this is slightly easier to notice if you observe the sky for a while, especially if you have a fixed point of reference when the moon is lower in the sky.
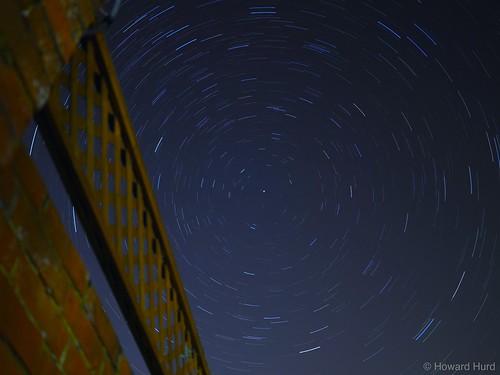
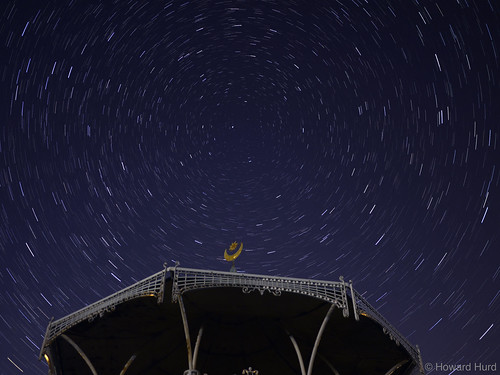
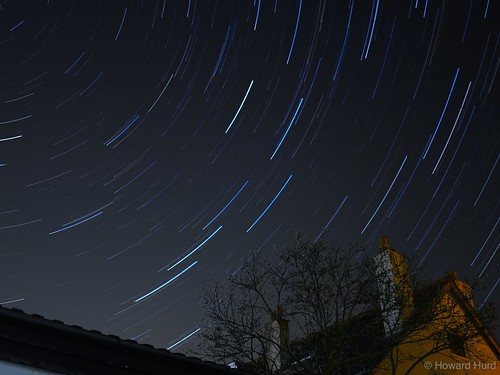
Stacked star trails looking North over Portsmouth, centred on Polaris (the North Star) – total exposure time 30 minutes
My star photography kitlist
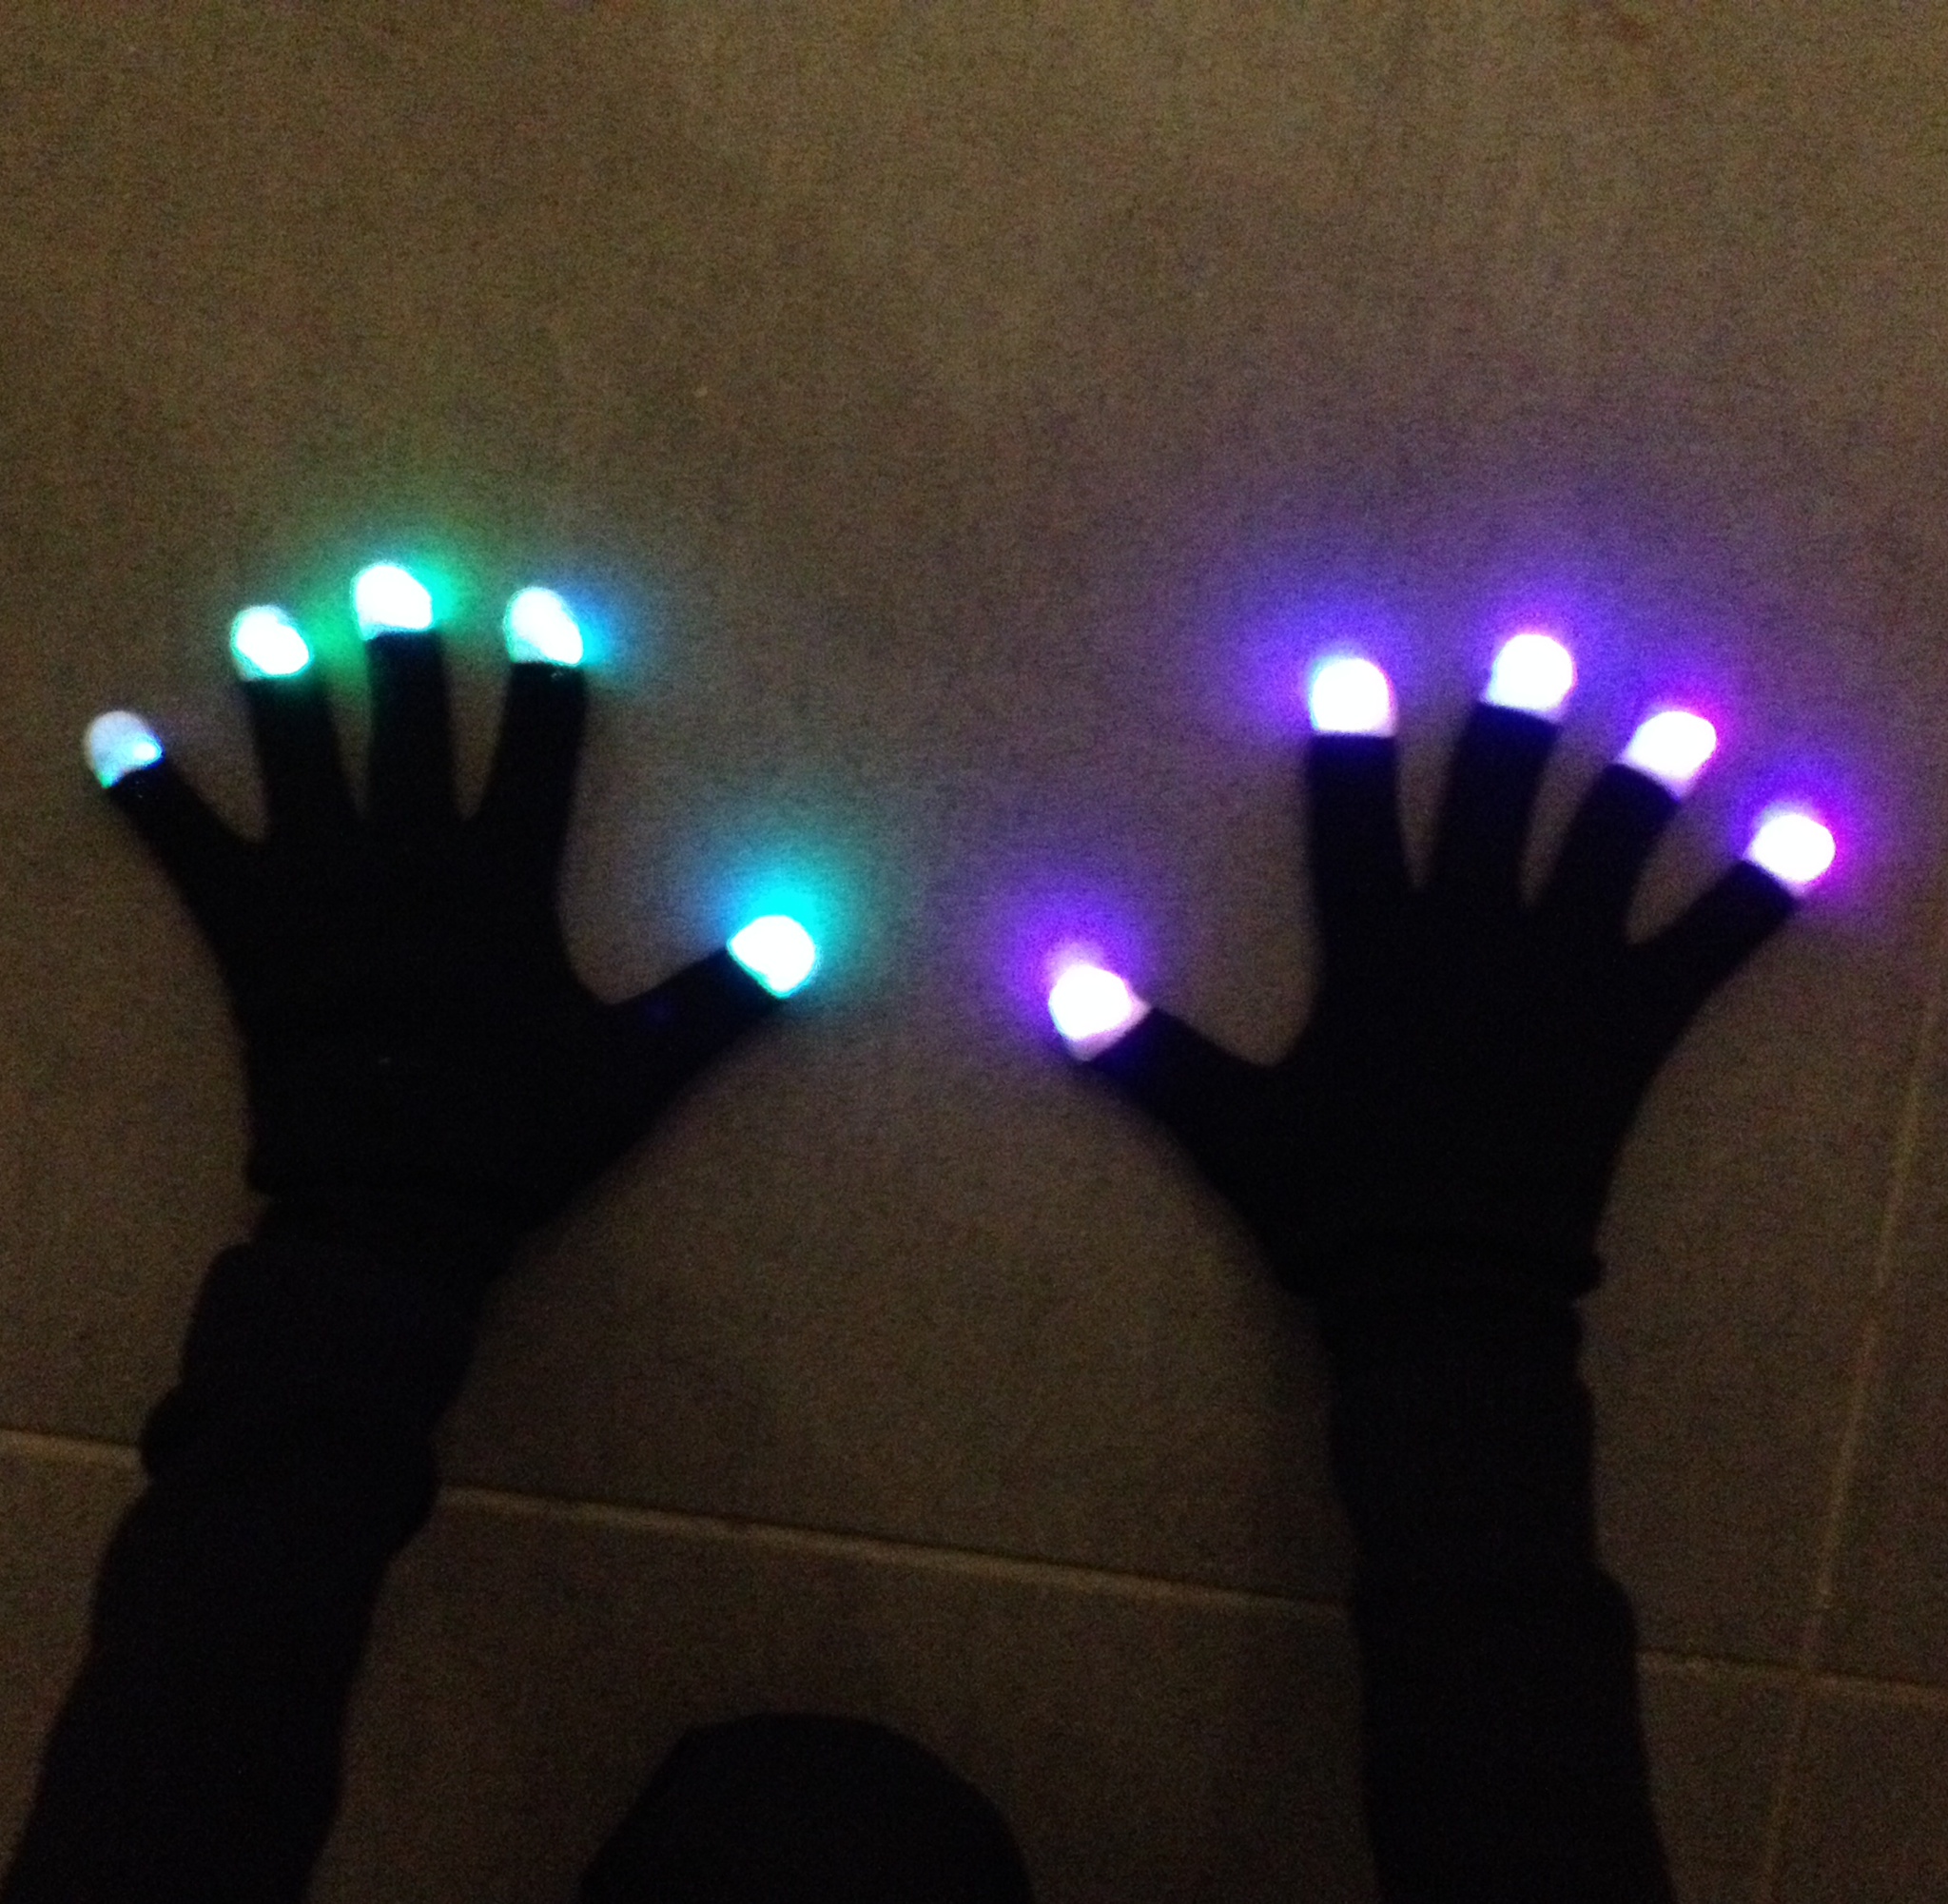
In case you are interested, my kitlist for shooting these star trails and night timelapses consisted of: Lumix 20mm f1.7 mounted on the Panasonic Lumix G6, along with my cheap, but sturdy, Velbon Sherpa 200R tripod, a Pixel TC-252/L1 remote release, a spare battery (as they drain more quickly in the cold) and my Lumix 14-140mm lens in my pocket. And a warm coat, some fingerless gloves and a hat!